How to Choose a Picture Window With Side Windows
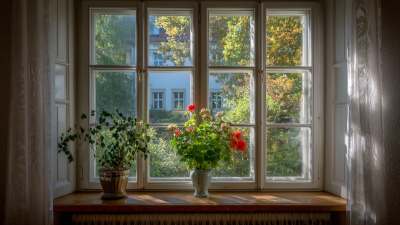
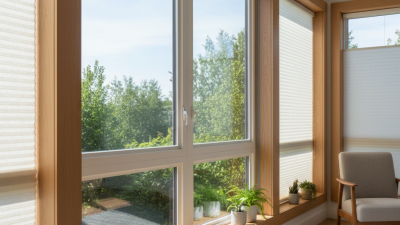
Choosing a picture window with side windows is more than a style decision. It affects daylight, comfort, ventilation, privacy, and long-term energy use. A wide central pane can frame a garden like a living photograph. Narrow side windows can add airflow and create a balanced architectural line. Yet the wrong glass or frame may produce glare, drafts, or unwanted summer heat.
The U.S. Department of Energy reports that windows can account for about 25% to 30% of residential heating and cooling energy use. That figure makes performance important, not optional. The National Fenestration Rating Council recommends comparing U-factor, solar heat gain coefficient, visible transmittance, and air leakage ratings. These numbers explain how well a window insulates, controls sunlight, admits daylight, and resists drafts. ENERGY STAR guidance also supports selecting climate-appropriate products rather than choosing by appearance alone.
Measure the wall, furniture clearance, and exterior shading before selecting a configuration. A south-facing opening may need a lower solar heat gain coefficient in warm climates. A shaded north-facing wall may benefit from higher visible transmittance. Consider whether the side windows should open, especially in rooms where cross-ventilation matters. Check cleaning access, hardware reach, safety glazing needs, and local installation requirements with a qualified professional.
There is no universal best arrangement. A dramatic glass wall may look impressive but perform poorly without shading. Even experienced homeowners can overlook condensation risk. Use the manufacturer’s certified ratings, inspect the installation details, and compare total value instead of glass area alone. The most successful picture window with side windows should feel bright, quiet, comfortable, and practical every day.
Define Window Geometry Using Picture-to-Side-Window Ratios and Sightlines
How to Choose a Picture Window With Side Windows
Define Window Geometry Using Picture-to-Side-Window Ratios and Sightlines
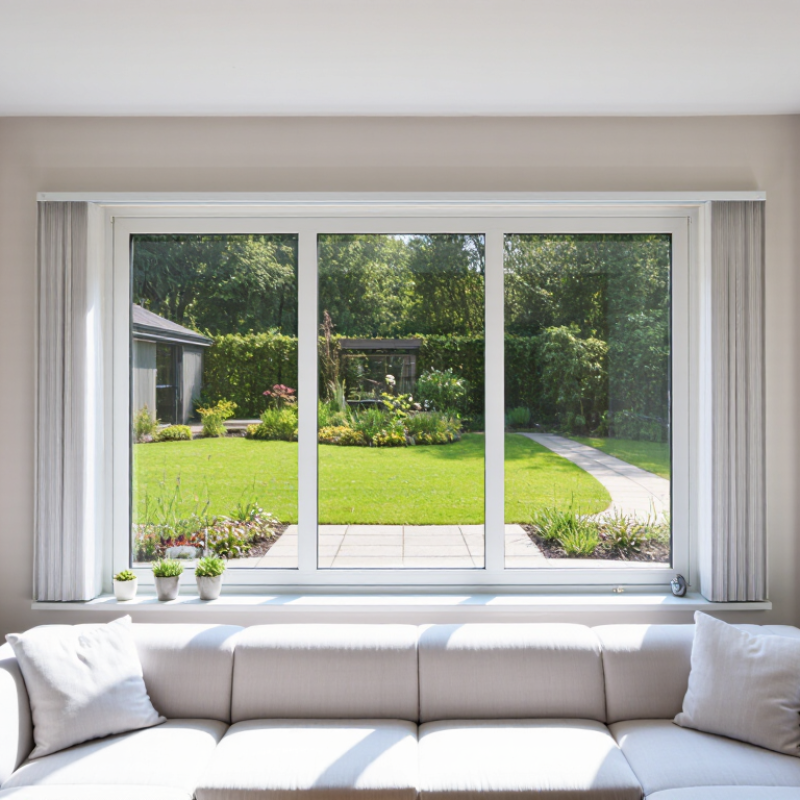
A picture window should feel intentional, not simply oversized. I usually begin with the picture-to-side-window ratio. A 2:1 ratio creates a strong central view with noticeable vertical framing. A 3:1 ratio feels wider and more open. Narrow side windows can make the center glass appear heavier.
Measure the wall, furniture, and outdoor focal point together. A fireplace, tree, or garden path should align with the central opening. Check the sightline from standing and seated positions. Seated eye height often falls near 42 inches above the floor. A low sill can preserve garden views, while a higher sill may protect privacy. It depends on the room.
Symmetry helps, but it is not always the answer. My early layouts looked balanced on paper, yet nearby trim made one side feel crowded. That mistake changed how I judge window geometry. Leave enough wall space for casing and structural support. Side windows also need practical clearance from corners, doors, and adjoining walls.
Use full-size tape marks before ordering. Stand where people actually sit. Check reflections at night, not only daylight. If the side windows are too narrow, they may add little view and collect awkward shadows. If they are too wide, the picture window loses visual priority. A qualified window professional should verify opening dimensions, load requirements, drainage, and local installation standards. Ratios guide the design, but real sightlines decide whether it works.
Compare NFRC U-Factor, SHGC, and Visible Transmittance Ratings
How to Choose a Picture Window With Side Windows
Compare NFRC U-Factor, SHGC, and Visible Transmittance Ratings
A picture window with side windows can brighten a room while creating different heat patterns across the glass. Start with the NFRC label, not a sales claim. U-factor measures how quickly heat passes through the complete window unit. Lower numbers generally mean better insulation. Compare the same window size and configuration, because frame area can change the result.
SHGC shows how much solar heat enters through the window. A lower SHGC may help rooms facing strong afternoon sun stay cooler. In colder climates, a moderate or higher SHGC can provide useful winter warmth. Orientation matters more than many homeowners expect. A north-facing opening usually needs different glass performance than a west-facing one.
Visible Transmittance, or VT, measures how much daylight passes through the glazing. Higher VT can reduce the need for electric lighting, but excessive brightness may create glare on a desk or television. I once focused too heavily on a low U-factor and overlooked the room’s afternoon glare. That comparison was incomplete.
Check the ratings for the entire assembly, including the side windows. Ask whether the figures represent the exact glass package, spacer, and frame. Installation quality also affects real performance; small gaps around the frame can undermine excellent laboratory numbers. Remember this detail. A slightly lower rating is not always the better choice if it sacrifices daylight or comfort for your room’s direction, shade, and daily use.
How to Choose a Picture Window With Side Windows
Compare representative NFRC U-Factor, SHGC, and Visible Transmittance ratings for common glazing configurations.
Lower U-Factor indicates better insulation and reduced heat transfer. SHGC describes how much solar heat enters through the glass, while Visible Transmittance indicates how much daylight passes through. The values shown are representative planning benchmarks for typical window glazing; compare the NFRC label for the complete picture-window and side-window assembly before purchasing.
Select Low-E Glass and Frames for Regional ENERGY STAR Climate Zones
How to Choose a Picture Window With Side Windows
Your regional ENERGY STAR climate zone should shape every window decision. A picture window with side windows can look balanced, but its glass and frames must suit local heat patterns. In colder zones, choose low-E glass with a low U-factor to reduce indoor heat loss. In warmer zones, a lower solar heat gain coefficient can limit harsh afternoon heat. Mixed climates require a careful balance.
Orientation matters too. South- and west-facing windows may receive very different sunlight. A professional assessment can compare U-factor, SHGC, visible transmittance, and air leakage ratings. Do not judge performance by glass alone. Frames also affect comfort. Thermally improved vinyl, fiberglass, or insulated composite frames can reduce cold edges and condensation. Metal frames need effective thermal barriers.
I once focused mainly on the window’s appearance. That shortcut was flawed. The side windows opened smoothly, yet their weaker seals created a noticeable draft. Installation quality matters as much as the product rating. Ask for sealed joints, square placement, and proper flashing around the rough opening. Check the current regional criteria before ordering, because ENERGY STAR requirements can change. Small differences in frame depth or glass coating may affect daylight, heating bills, and winter comfort. Some choices still involve compromise. A highly efficient coating may slightly change the glass color.
Verify Air Leakage, Safety Glazing, and Installation Standards Before Purchase
How to Choose a Picture Window With Side Windows
A picture window with side windows can brighten a room, but appearance should not lead the decision. I once focused too much on frame style and overlooked small drafts near the joints. That mistake changed how I inspect windows now. Ask for the unit’s air-leakage rating, tested under recognized performance standards. Lower leakage generally means fewer cold spots and less outdoor noise. Check the label or test report, not only the sales description. Test the operating side windows carefully. They should close evenly, lock firmly, and compress the weather seals without forcing the handle.
Safety glazing requires equal attention. Glass beside a door, near a floor, or in a low window area may need tempered or laminated glazing. Local rules define hazardous locations, so confirm requirements with the building authority or a qualified professional. Do not assume every large pane uses safety glass. Look for permanent markings on the corner of the glass. Installation matters just as much. The opening should be measured after removing damaged materials, not guessed from the old frame. Proper flashing, shims, insulation, and drainage paths help prevent hidden moisture. Ask how the installer will connect the side windows to the central picture window. A beautiful interior trim cannot correct poor alignment or trapped water. I still leave room for doubt, especially in older walls. Independent inspection may cost more, but it can reveal leakage before the first rainy season.